Overview
Regions allow you to segment out your communities into named groups for custom reporting.
Creating Regions
Step 1: Navigate to the Admin section and click Region on the left hand menu.

Step 2: Enter a name for your region in the Region Name field and click the blue + Add button. You will now have a new region to add communities to.


Add Communities to a Region
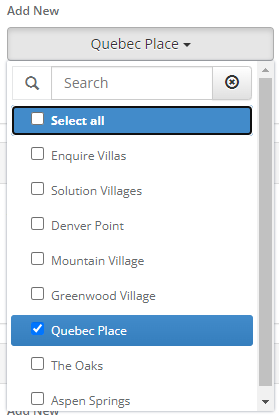
Step 1: Click the grey None selected button. This will bring up a drop down with all of your company's communities.

Step 2: Click the checkbox to the left of each community name to add them to the specified region.

Step 3: Click the grey button again or outside of the community list to save your selection. You will now see your communities added to the region.

Removing a Community from a Region
Step 1: Click on the region you are wanting to remove the community from
Step 2: Uncheck the box of the region you are wanting to remove

Deleting and Renaming a Region
In the upper right corner of the region, click the red Delete button.

Was this article helpful?
That’s Great!
Thank you for your feedback
Sorry! We couldn't be helpful
Thank you for your feedback
Feedback sent
We appreciate your effort and will try to fix the article